Create WordPress Website on LocalHost | Best To Make a Website For Free in 2025
What is Local Host?
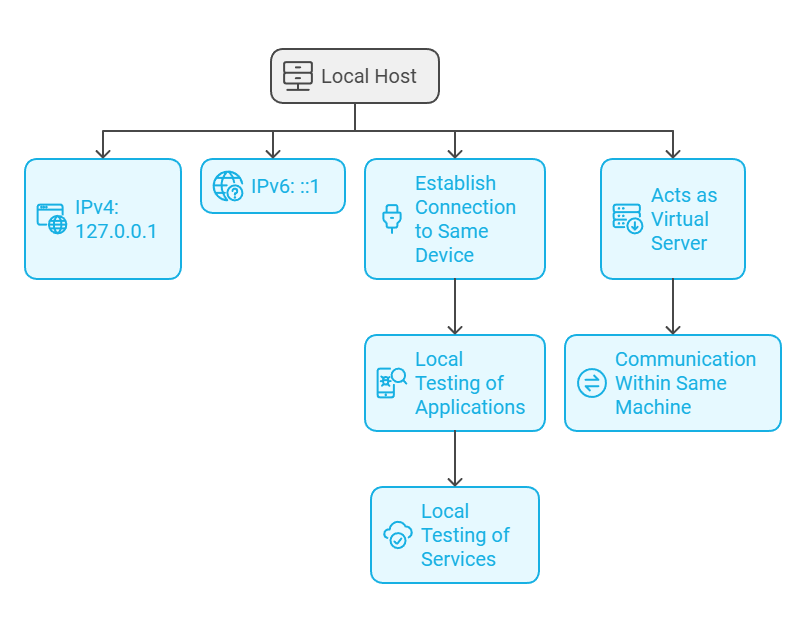
Local Host refers to the standard hostname given to the address of the loopback network interface. It is used to establish a connection to the same device or computer that is running the application or service. In most cases, Local Host is represented by the IP address 127.0.0.1 in IPv4 or ::1 in IPv6. This allows developers and users to test applications and services locally without needing an external network connection. Essentially, Local Host acts as a virtual server that facilitates communication within the same machine, making it an essential concept in networking and software development.
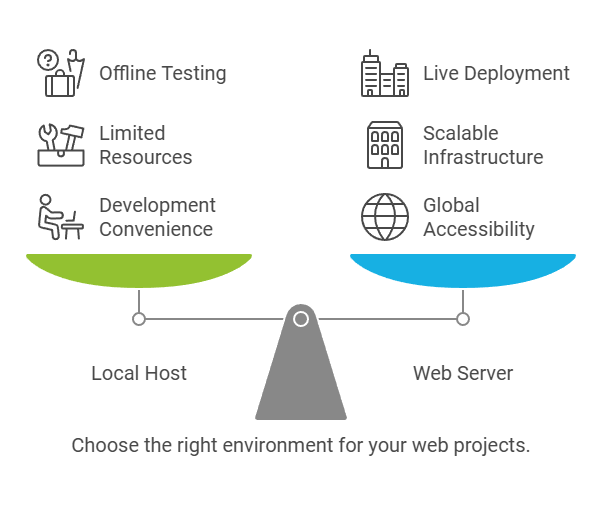
Local Host and Web Server
In the world of web development and hosting, understanding the differences between a local host and a web server is crucial for developers, system administrators, and anyone involved in deploying web applications. This document provides a comprehensive comparison of the two environments, highlighting their characteristics, advantages, and use cases.
In the world of web development, setting up a local host server is an essential step for building and testing websites before they go live. This article will guide you through the process of creating a local host server using XAMPP, a popular software package that simplifies the installation of Apache, MySQL, PHP, and Perl. By the end of this guide, you will be equipped to install WordPress on your local machine, allowing you to develop and test your website efficiently.
What is XAMPP?
XAMPP is an open-source cross-platform web server solution stack package developed by Apache Friends. It provides an easy-to-install Apache distribution containing MariaDB, PHP, and Perl. The name XAMPP is an acronym that stands for:
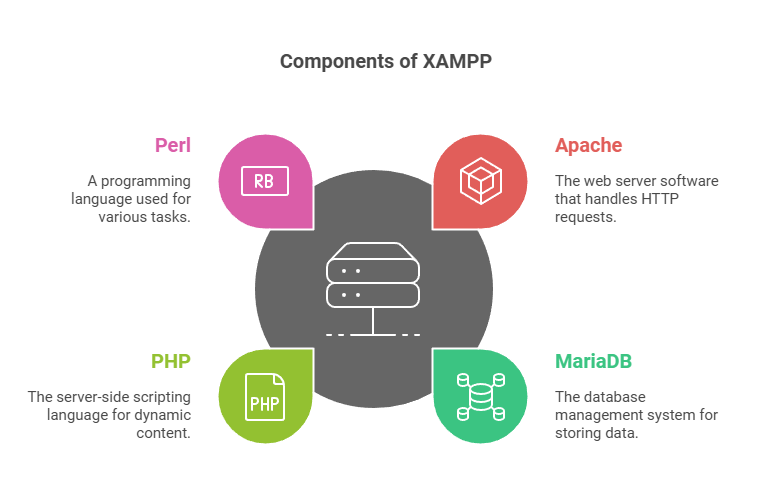
- X – Cross-platform
- A – Apache
- M – MariaDB (formerly MySQL)
- P – PHP
- P – Perl
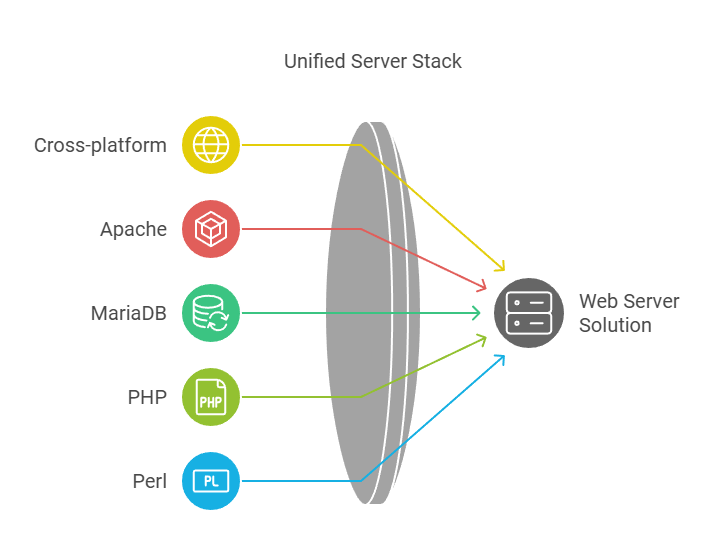
XAMPP is widely used by developers for local development because it allows you to run a web server on your own computer without needing an internet connection.
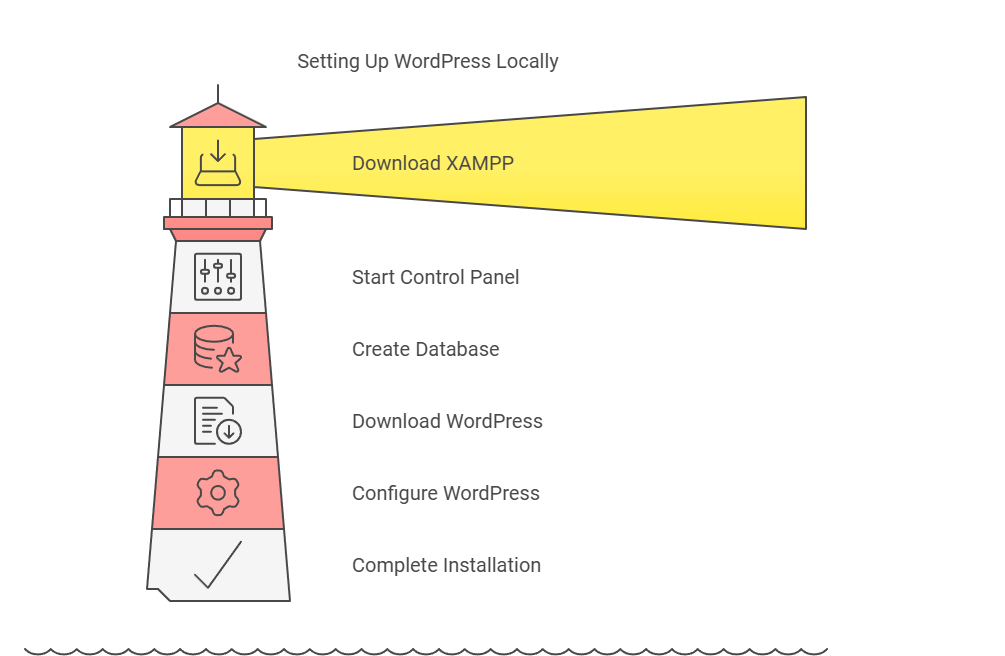
Step-by-Step Guide to Setting Up XAMPP
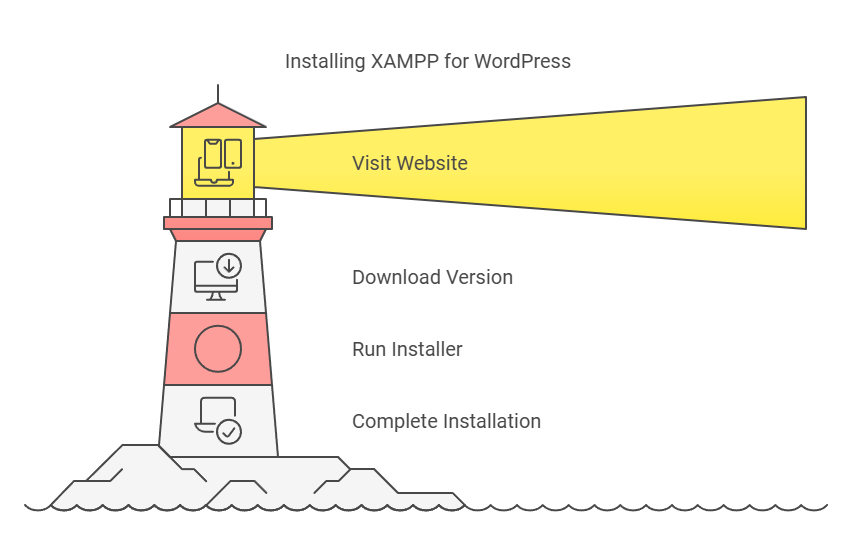
Step 1: Download and Install XAMPP
- Visit the [XAMPP official website](https://www.apachefriends.org/index.html).
- Download the version compatible with your operating system (Windows, macOS, or Linux).
- Run the installer and follow the prompts to complete the installation. Make sure to select Apache and MySQL during the installation process.
Step 2: Start the XAMPP Control Panel
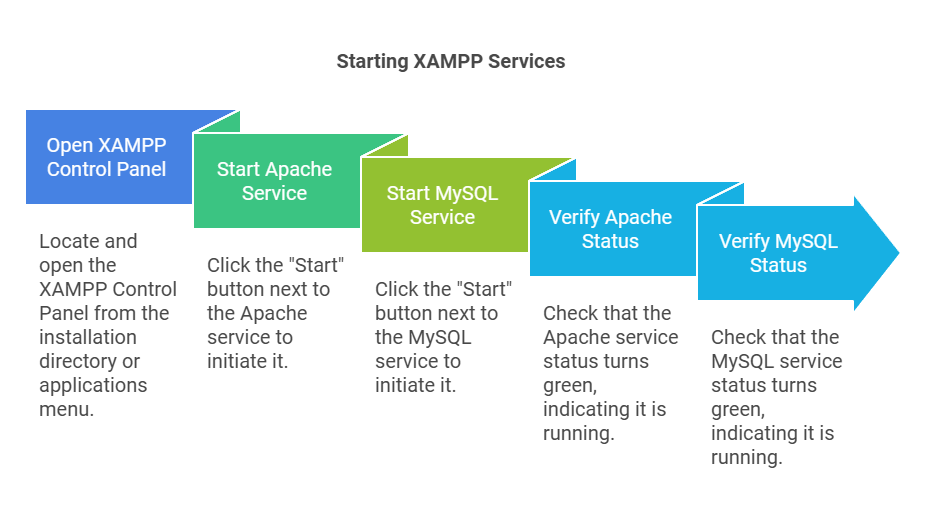
- Open the XAMPP Control Panel. You can find it in the installation directory or through your applications menu.
- Start the Apache and MySQL services by clicking the “Start” buttons next to each service. The status should turn green, indicating that they are running.
Step 3: Create a Database for WordPress
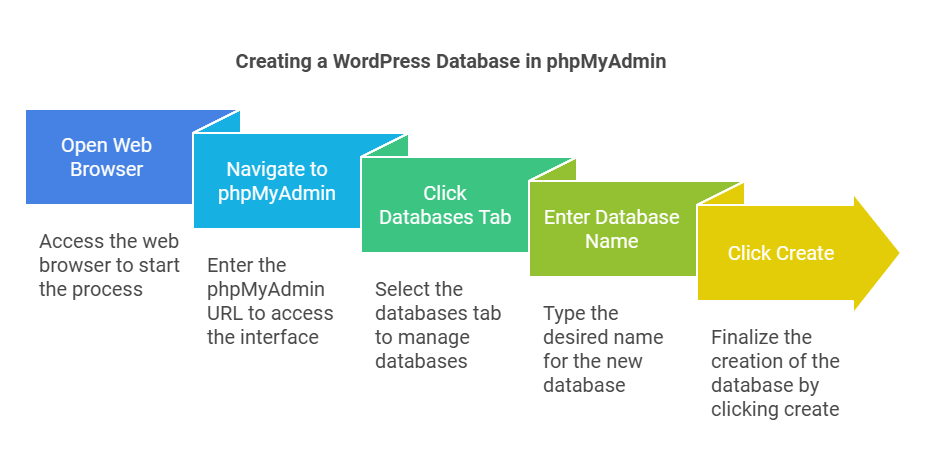
- Open your web browser and go to
http://localhost/phpmyadmin. - Click on the “Databases” tab.
- In the “Create database” field, enter a name for your WordPress database (e.g.,
wordpress_db) and click “Create”.
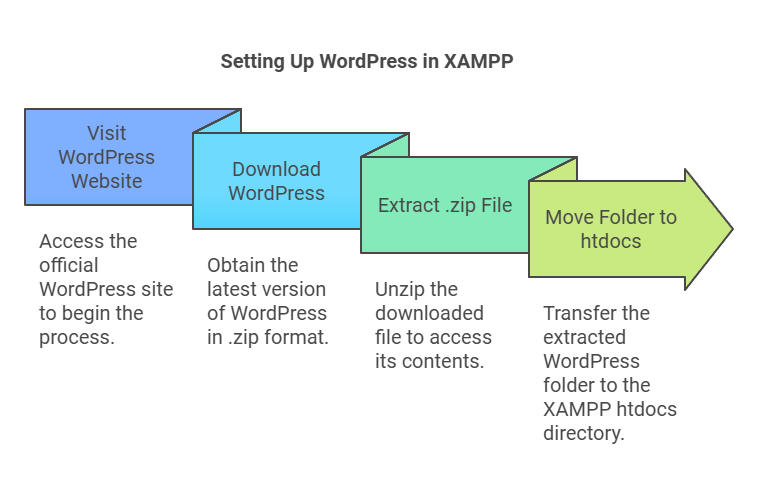
Step 4: Download WordPress
- Visit the [WordPress official website](https://wordpress.org/download/).
- Download the latest version of WordPress in a .zip format.
- Extract the downloaded .zip file.
- Move the extracted WordPress folder to the
htdocsdirectory within your XAMPP installation folder (usually located atC:\xampp\htdocs).
Step 5: Configure WordPress
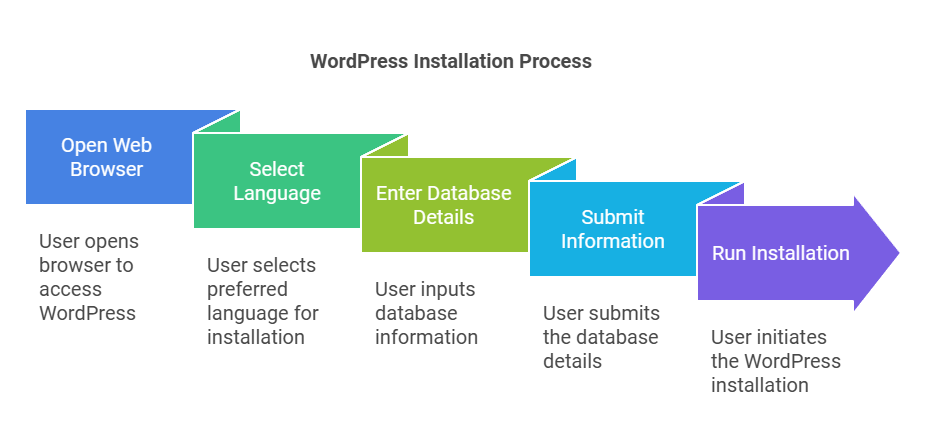
- Open your web browser and navigate to
http://localhost/wordpress(or the name of your WordPress folder). - You will be greeted with the WordPress installation wizard. Select your language and click “Continue”.
- On the next screen, click “Let’s go!” to enter your database details:
- Database Name: The name you created earlier (e.g.,
wordpress_db). - Username:
root(default for XAMPP). - Password: Leave this blank (default for XAMPP).
- Database Host:
localhost. - Table Prefix: You can leave this as
wp_or change it if you prefer.
- Database Name: The name you created earlier (e.g.,
- Click “Submit” and then “Run the installation”.
Step 6: Complete the Installation
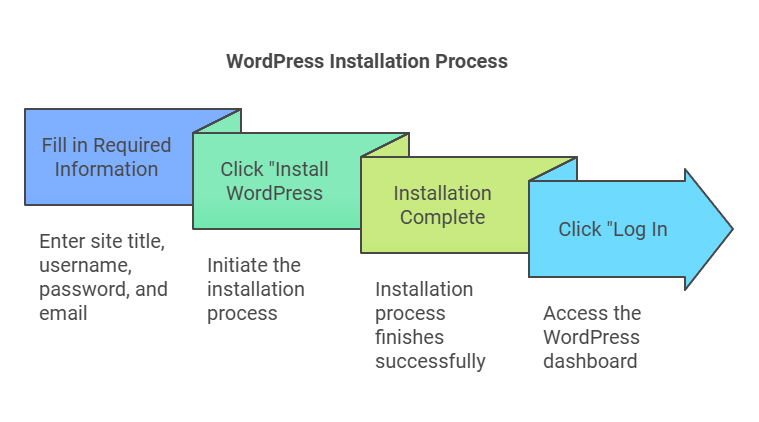
- Fill in the required information for your website, including the site title, username, password, and your email address.
- Click “Install WordPress”.
- Once the installation is complete, you will see a success message. Click “Log In” to access your WordPress dashboard.
Conclusion
Setting up a local host server using XAMPP for WordPress development is a straightforward process that allows you to create and test your website in a safe environment. By following the steps outlined in this article, you can easily install WordPress on your local machine and begin building your site. This setup not only saves time but also provides a platform for experimentation without the risk of affecting a live website. Happy developing!
